Spectop – a ZX Spectrum “laptop”

So yes, this is in – in some ways – exactly what it looks like. A self-contained Sinclair ZX Spectrum, plus a display, all in a little carry case. A Spectrum Laptop. A Spectop, if you will.
Except that it's not quite what it seems. Obviously as well as the Spectrum, the keyboard, and the loudspeaker, there is a Raspberry Pi getting involved. What sort of deep magic is occurring there? Well, as I explained to @RenewedRebecca it's actually more sleight-of-hand than magic.
Drag your eyes away from the Spectrum keyboard and the display for a moment, and take a look at that Raspberry Pi. That's where everything happens.
It's a Pi 3A (chosen for its small form factor more than any other reason) and it's running an incredibly clever bit of software called ZXBareEmulator. This is a ZX Spectrum emulator running on “bare metal” ARM – in other words there is no operating system between the emulator and the Pi. When you switch the Pi on, it doesn't boot into Linux, or BSD, or indeed any kind of normal Raspberry Pi OS. It boots straight into the Z80 emulator and within about 2 seconds (only slightly slower than an actual Spectrum) you've got a full Spectrum emulator running.
Actually it's even better than that. It doesn't just emulate a standard 48K Speccy, it can also emulate a Spectrum 128 or Spectrum +2.
It also has a built-in tape drive emulator: if you press Caps Shift + Symbol Shift + ENTER it pauses the Spectrum emulation and pops up a control screen, which includes browsing the SD card in the Pi and selecting a Spectrum tape image.

OK, so that's the guts of the thing. If you have a Raspberry Pi you can simply flash an SD card with the ZXBareEmulator image, boot it up, and be Spectrumming like it's 1984 within a minute or two. The Pi has HDMI output of course, so just plug it into your nearest modern monitor, add a standard PC keyboard, and you're in business.
But of course you might want more authenticity. You might want to use a real Spectrum keyboard, like I did.
(Full disclosure: that's actually a Recreated ZX Spectrum bluetooth keyboard rather than an original. I happened to have the Recreated keyboard lying around and ZXBareEmulator – of course – supports it natively.)
So what else is involved?
The screen is a 480x320 LCD with HDMI input by Waveshare – this one in fact. Sadly now twice the price it was when I bought it 3 years ago. It's actually a touchscreen but I don't use it as an input device for the Spectrum.
The audio comes, as can be seen from the image below, via an “amplified speaker kit” which was also bought from ThePiHut although they don't seem to stock it any more.
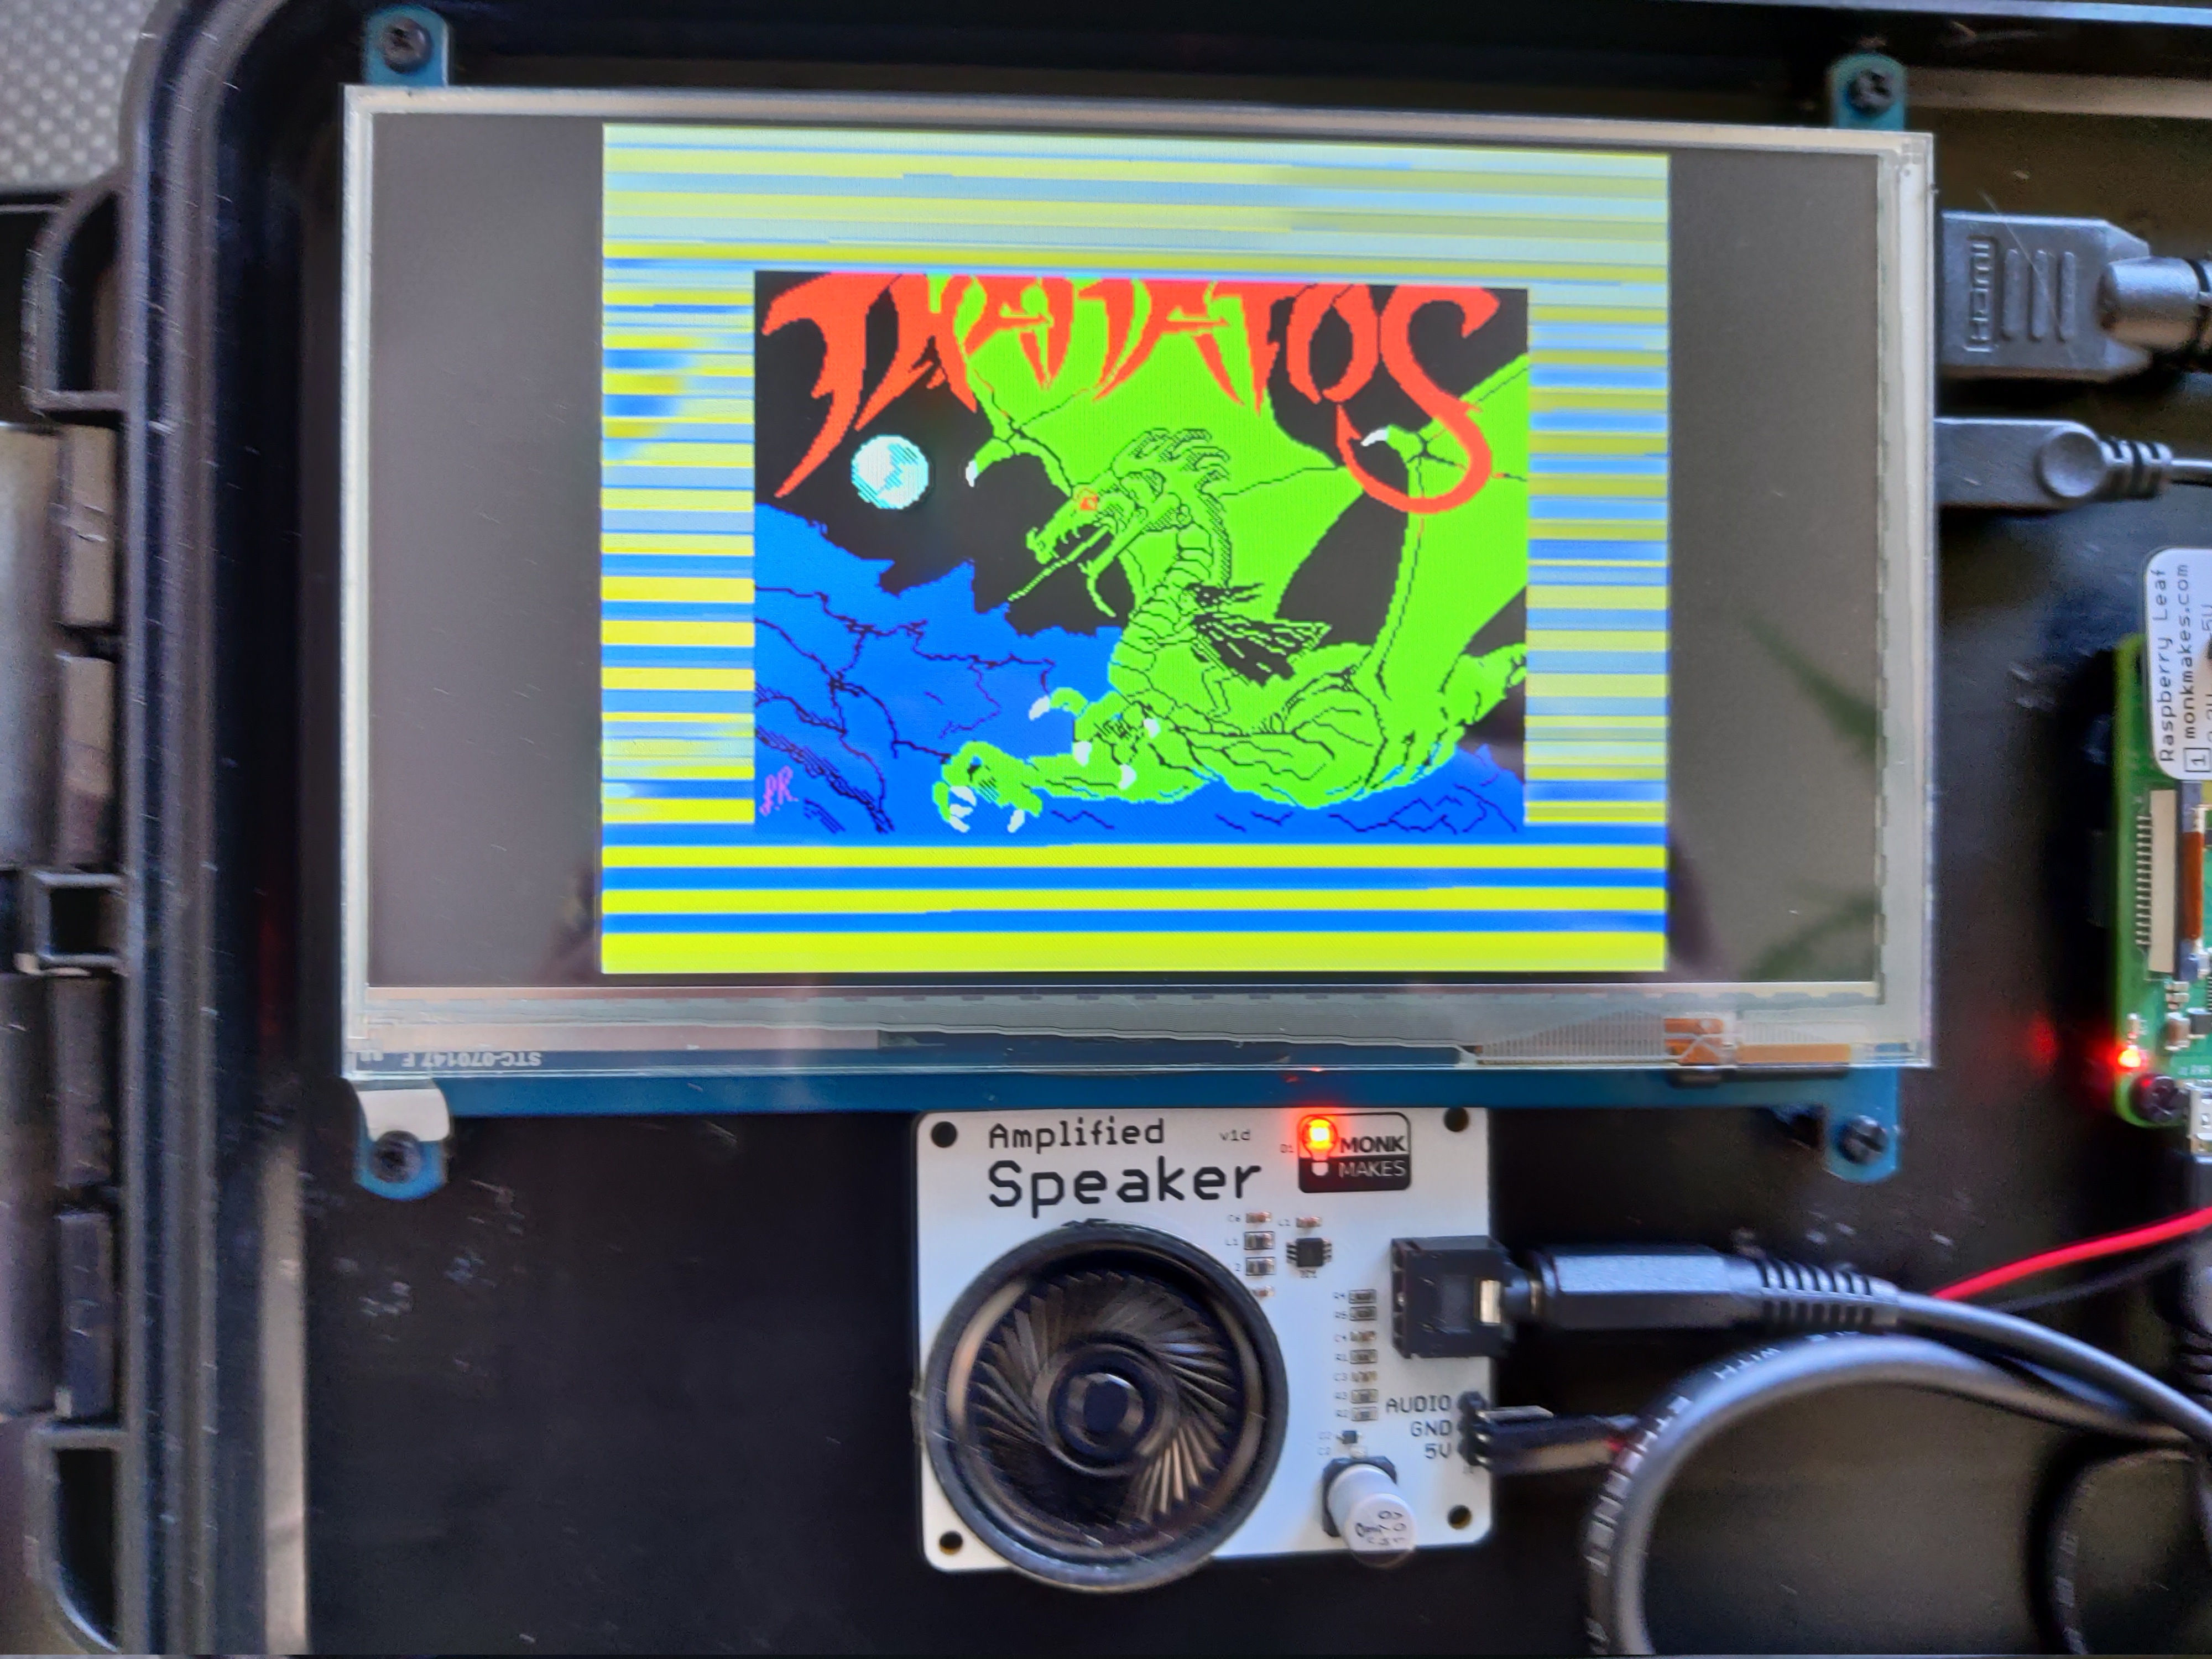
Final touches
The above is really all there is to it. Wiring is trivial – a short HDMI cable from the Pi to the LCD display, a 3.5mm-to-3.5mm audio jack cable from the Pi for the loudspeaker, and a USB connector between the Pi and the keyboard.
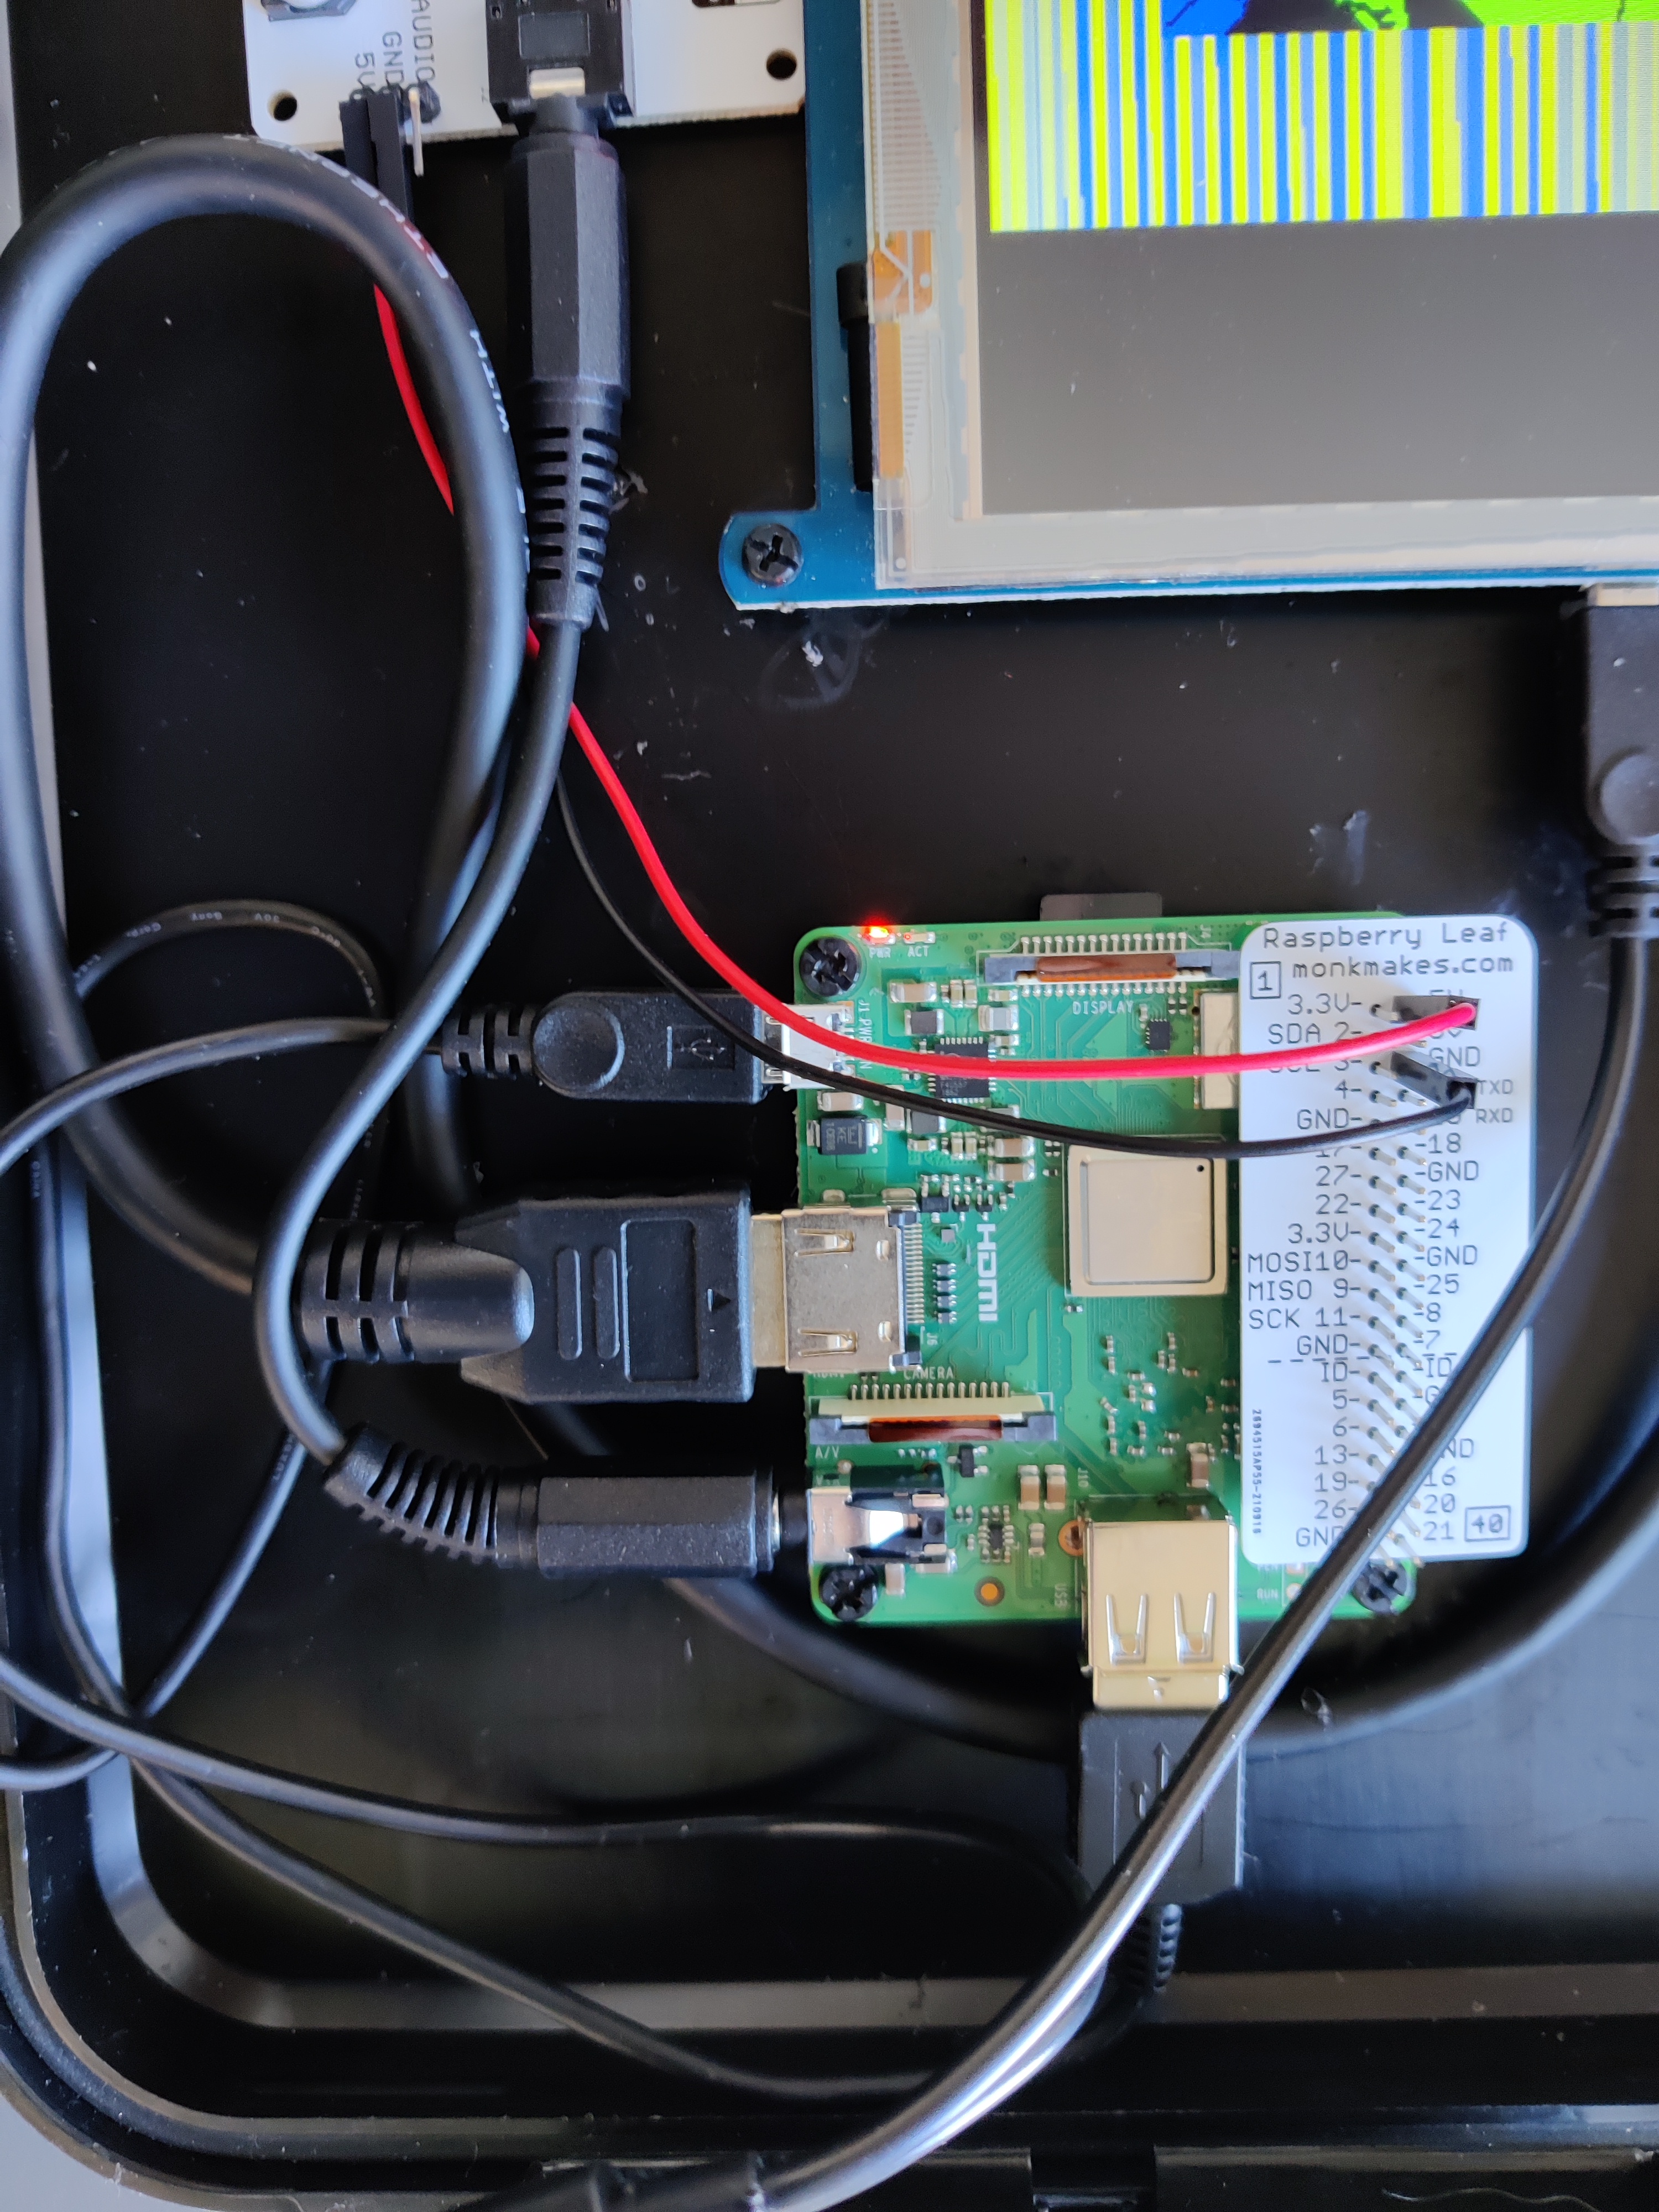
Finally there are a pair of jumpers to take 5V/GND from the Pi into the loudspeaker. The whole thing takes power externally from any micro-USB cable. The only snag here was that both the Pi and the LCD separately need a micro-USB connection for power. I solved this by buying a micro-USB splitter cable but I think I'd simply wire up my own if I were redoing this today.
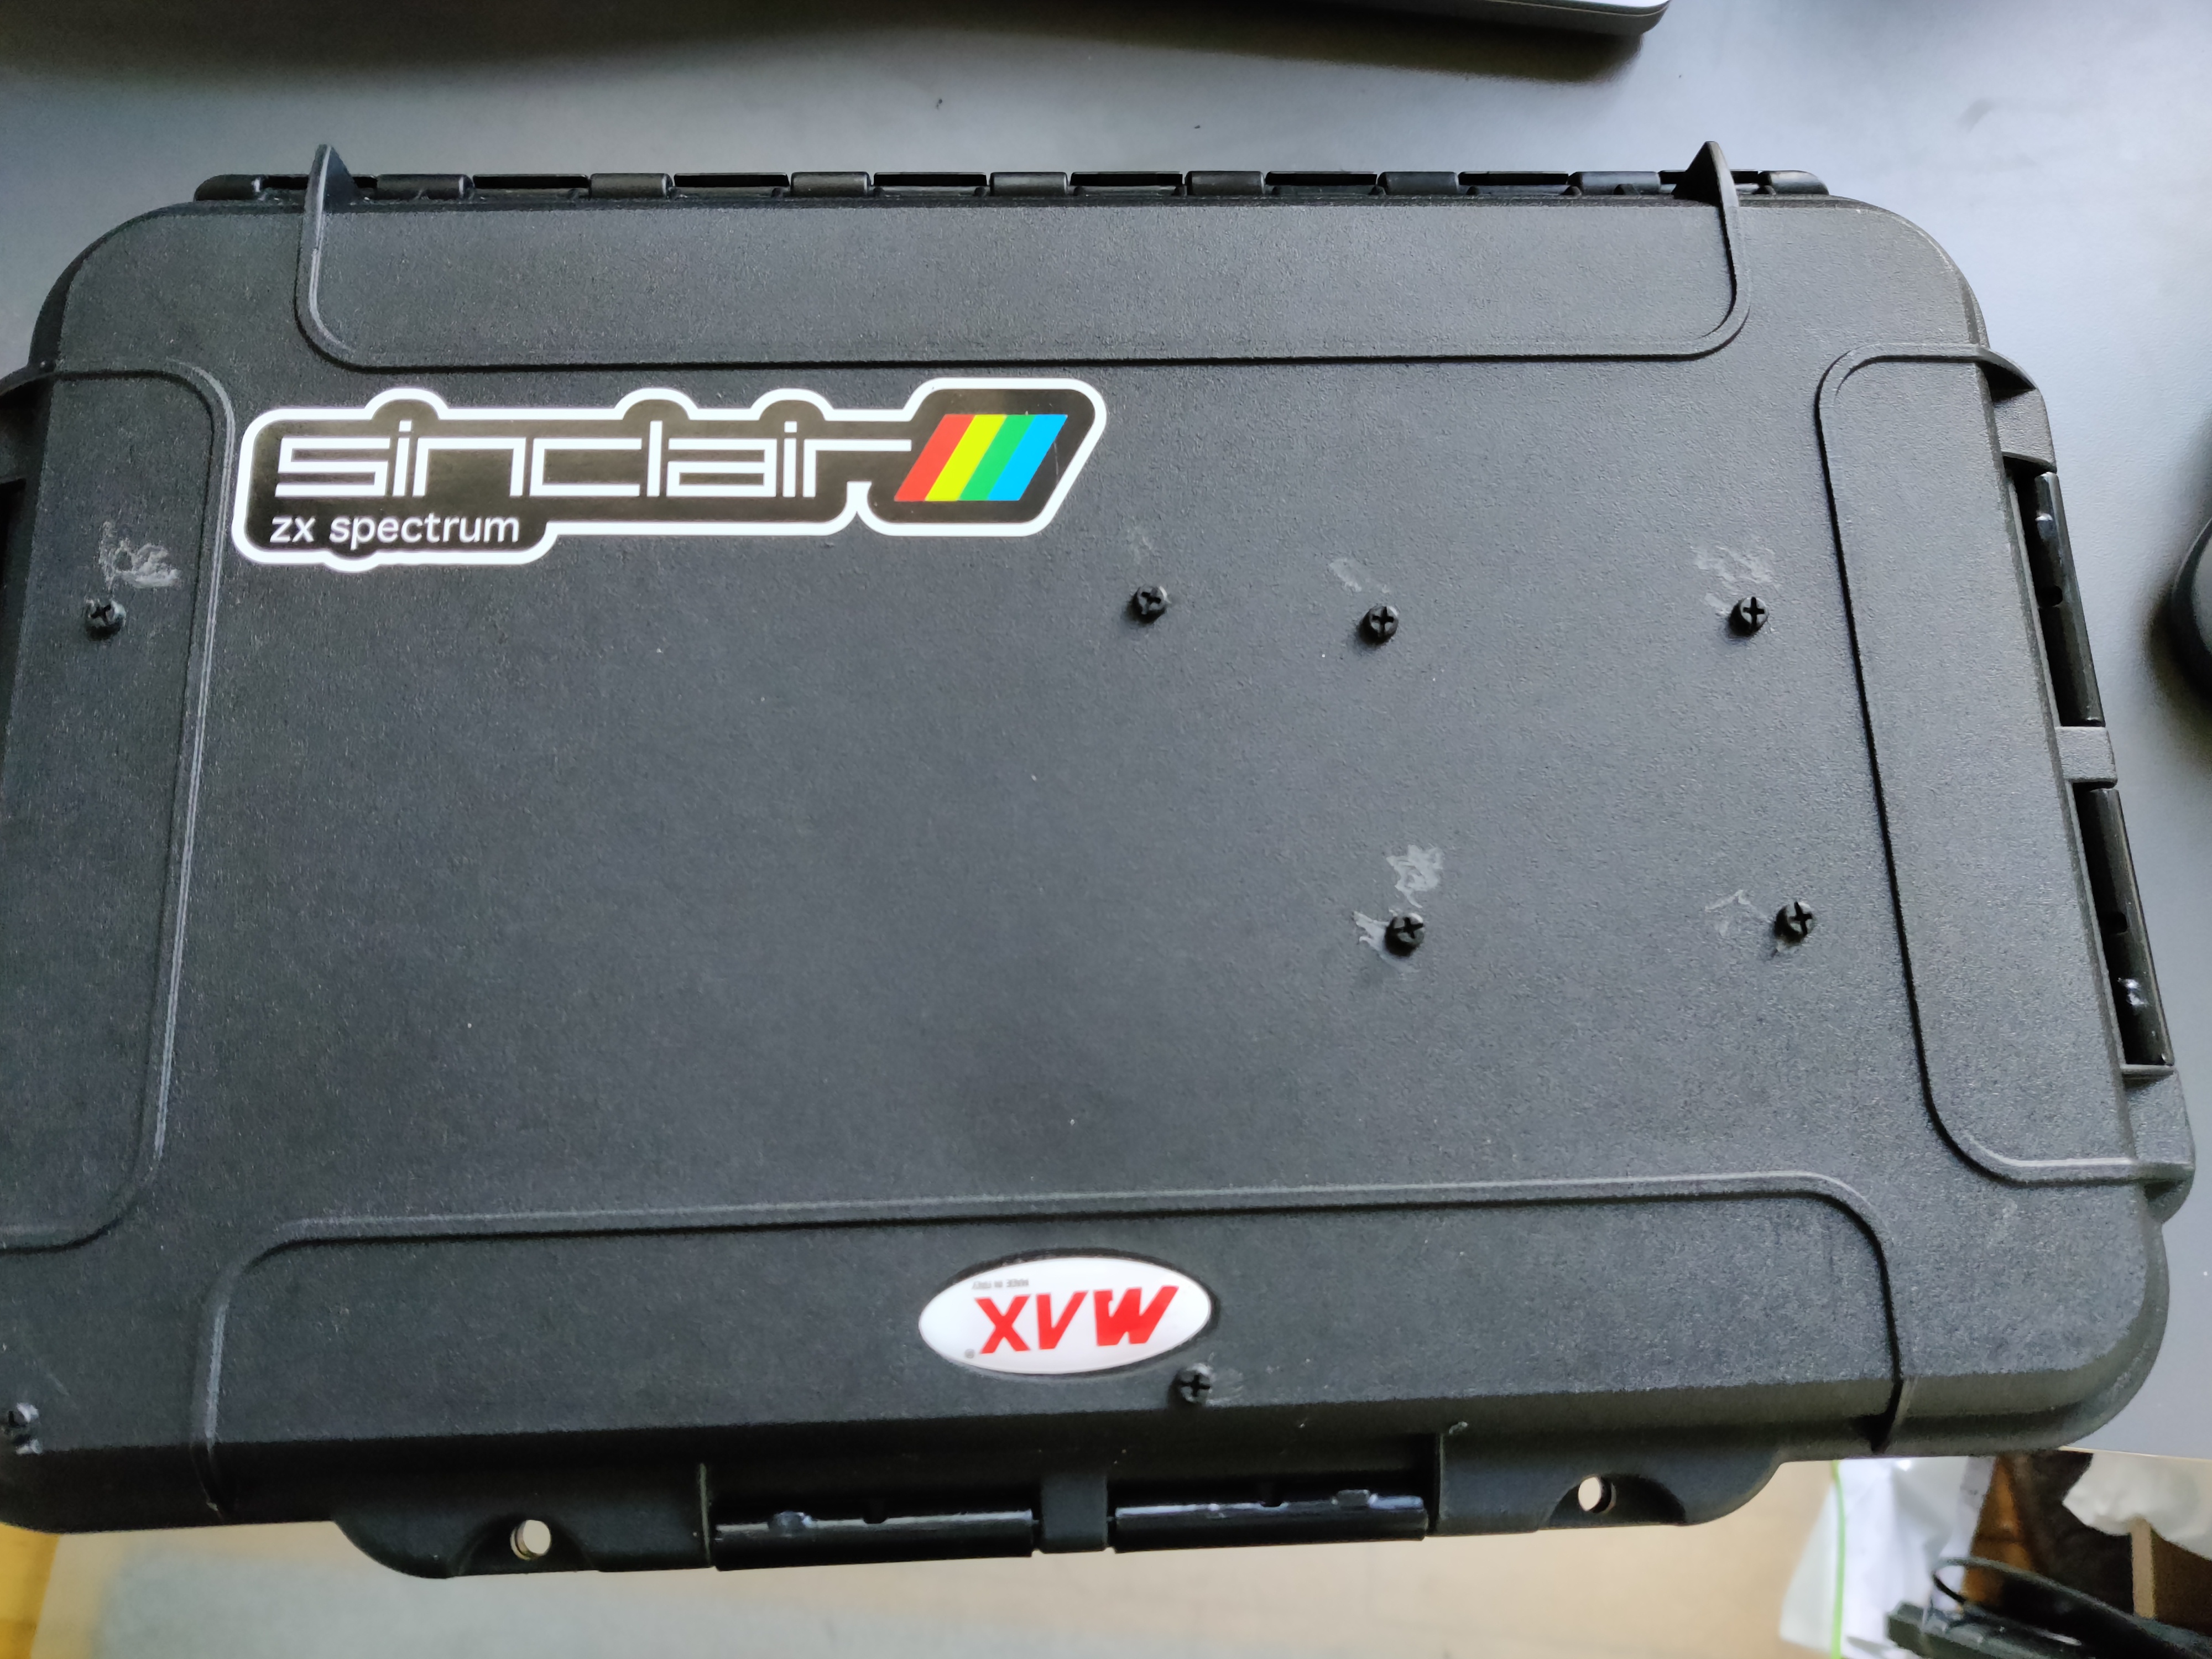
The case is just a generic 35cm x 23cm plastic case with foam insert that I honestly can't remember where I bought it. I tried to bling it up a little with a Spectrum sticker on the outside but the effect's spoiled somewhat by the annoying screws holding all the inside bits in place.
That's it. It's fun. I like it.
Any questions, I'm over on Mastodon: @losttourist@social.chatty.monster